Chocolate Swirl Bread (Babka) with Panasonic Bread Maker SD-P104
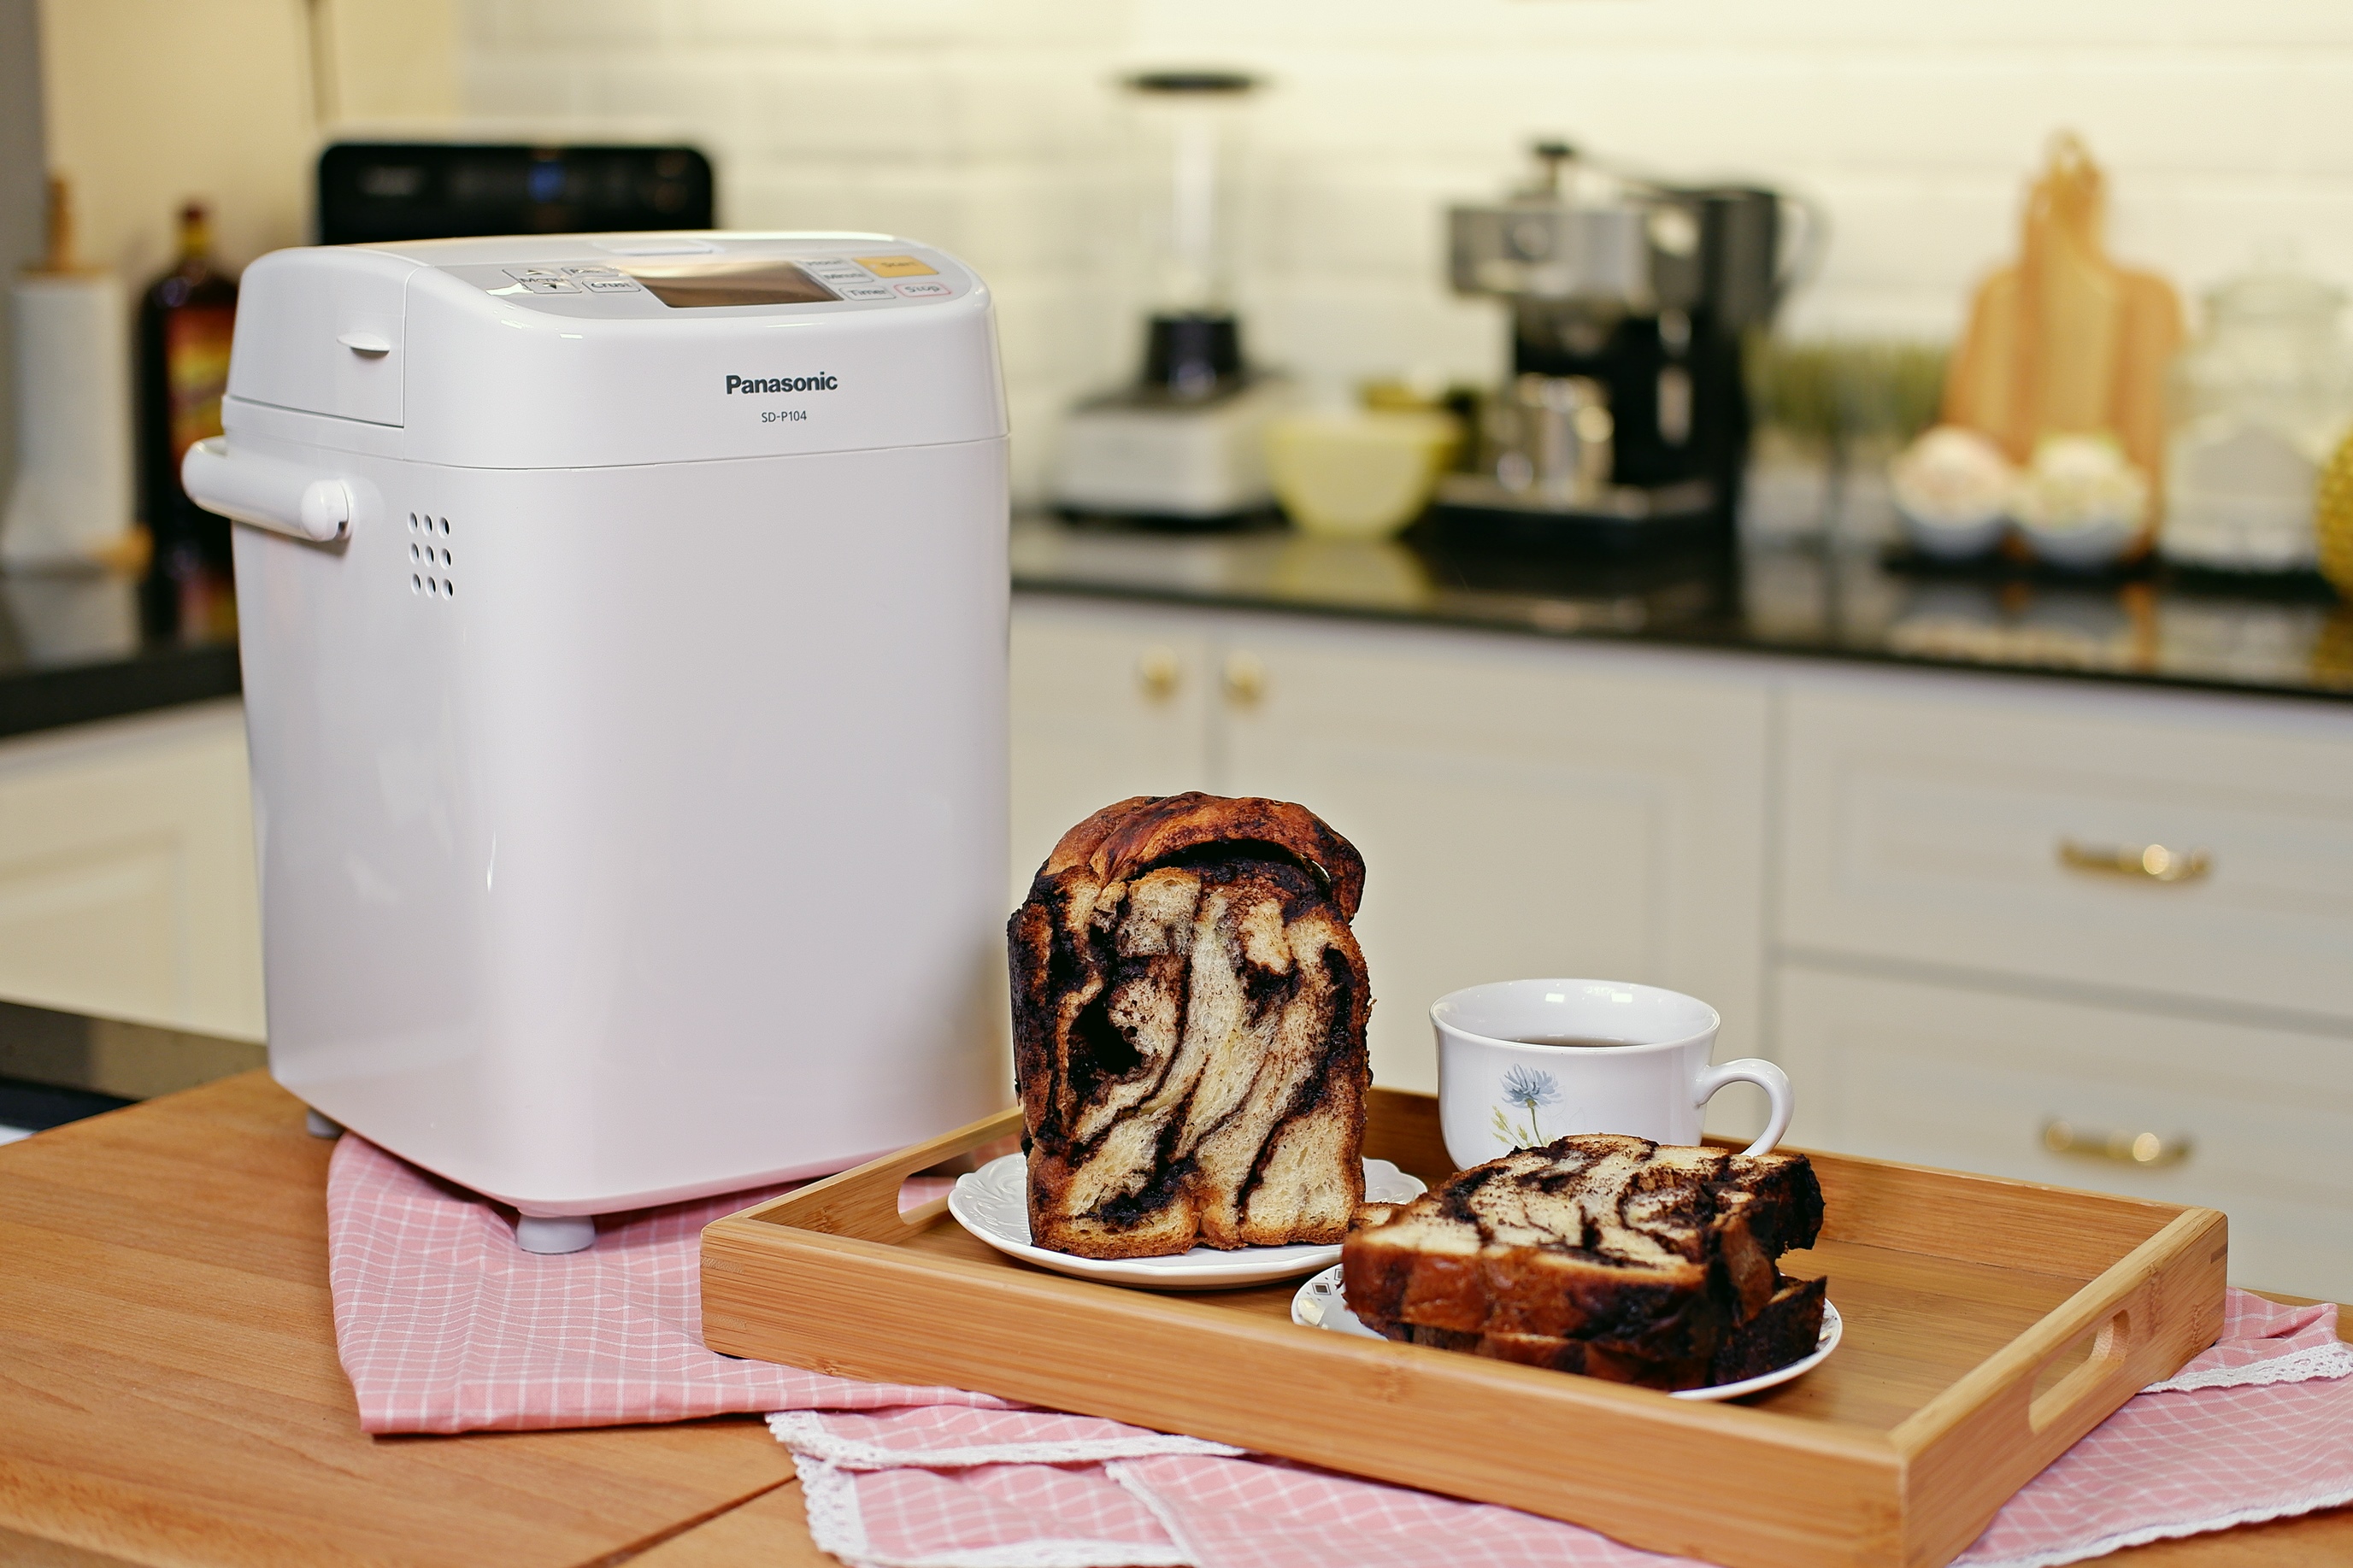
I love the scent of a fresh loaf of bread early in the morning. However, making bread can take up a lot of time, not to mention that it is also very tedious too. The fact that I am going through my internship right now, it is even harder for me to find time to bake. Luckily, I was introduced to the Panasonic Bread Maker SD-P104 recently and it was such a fun experience making different types of bread so easily.
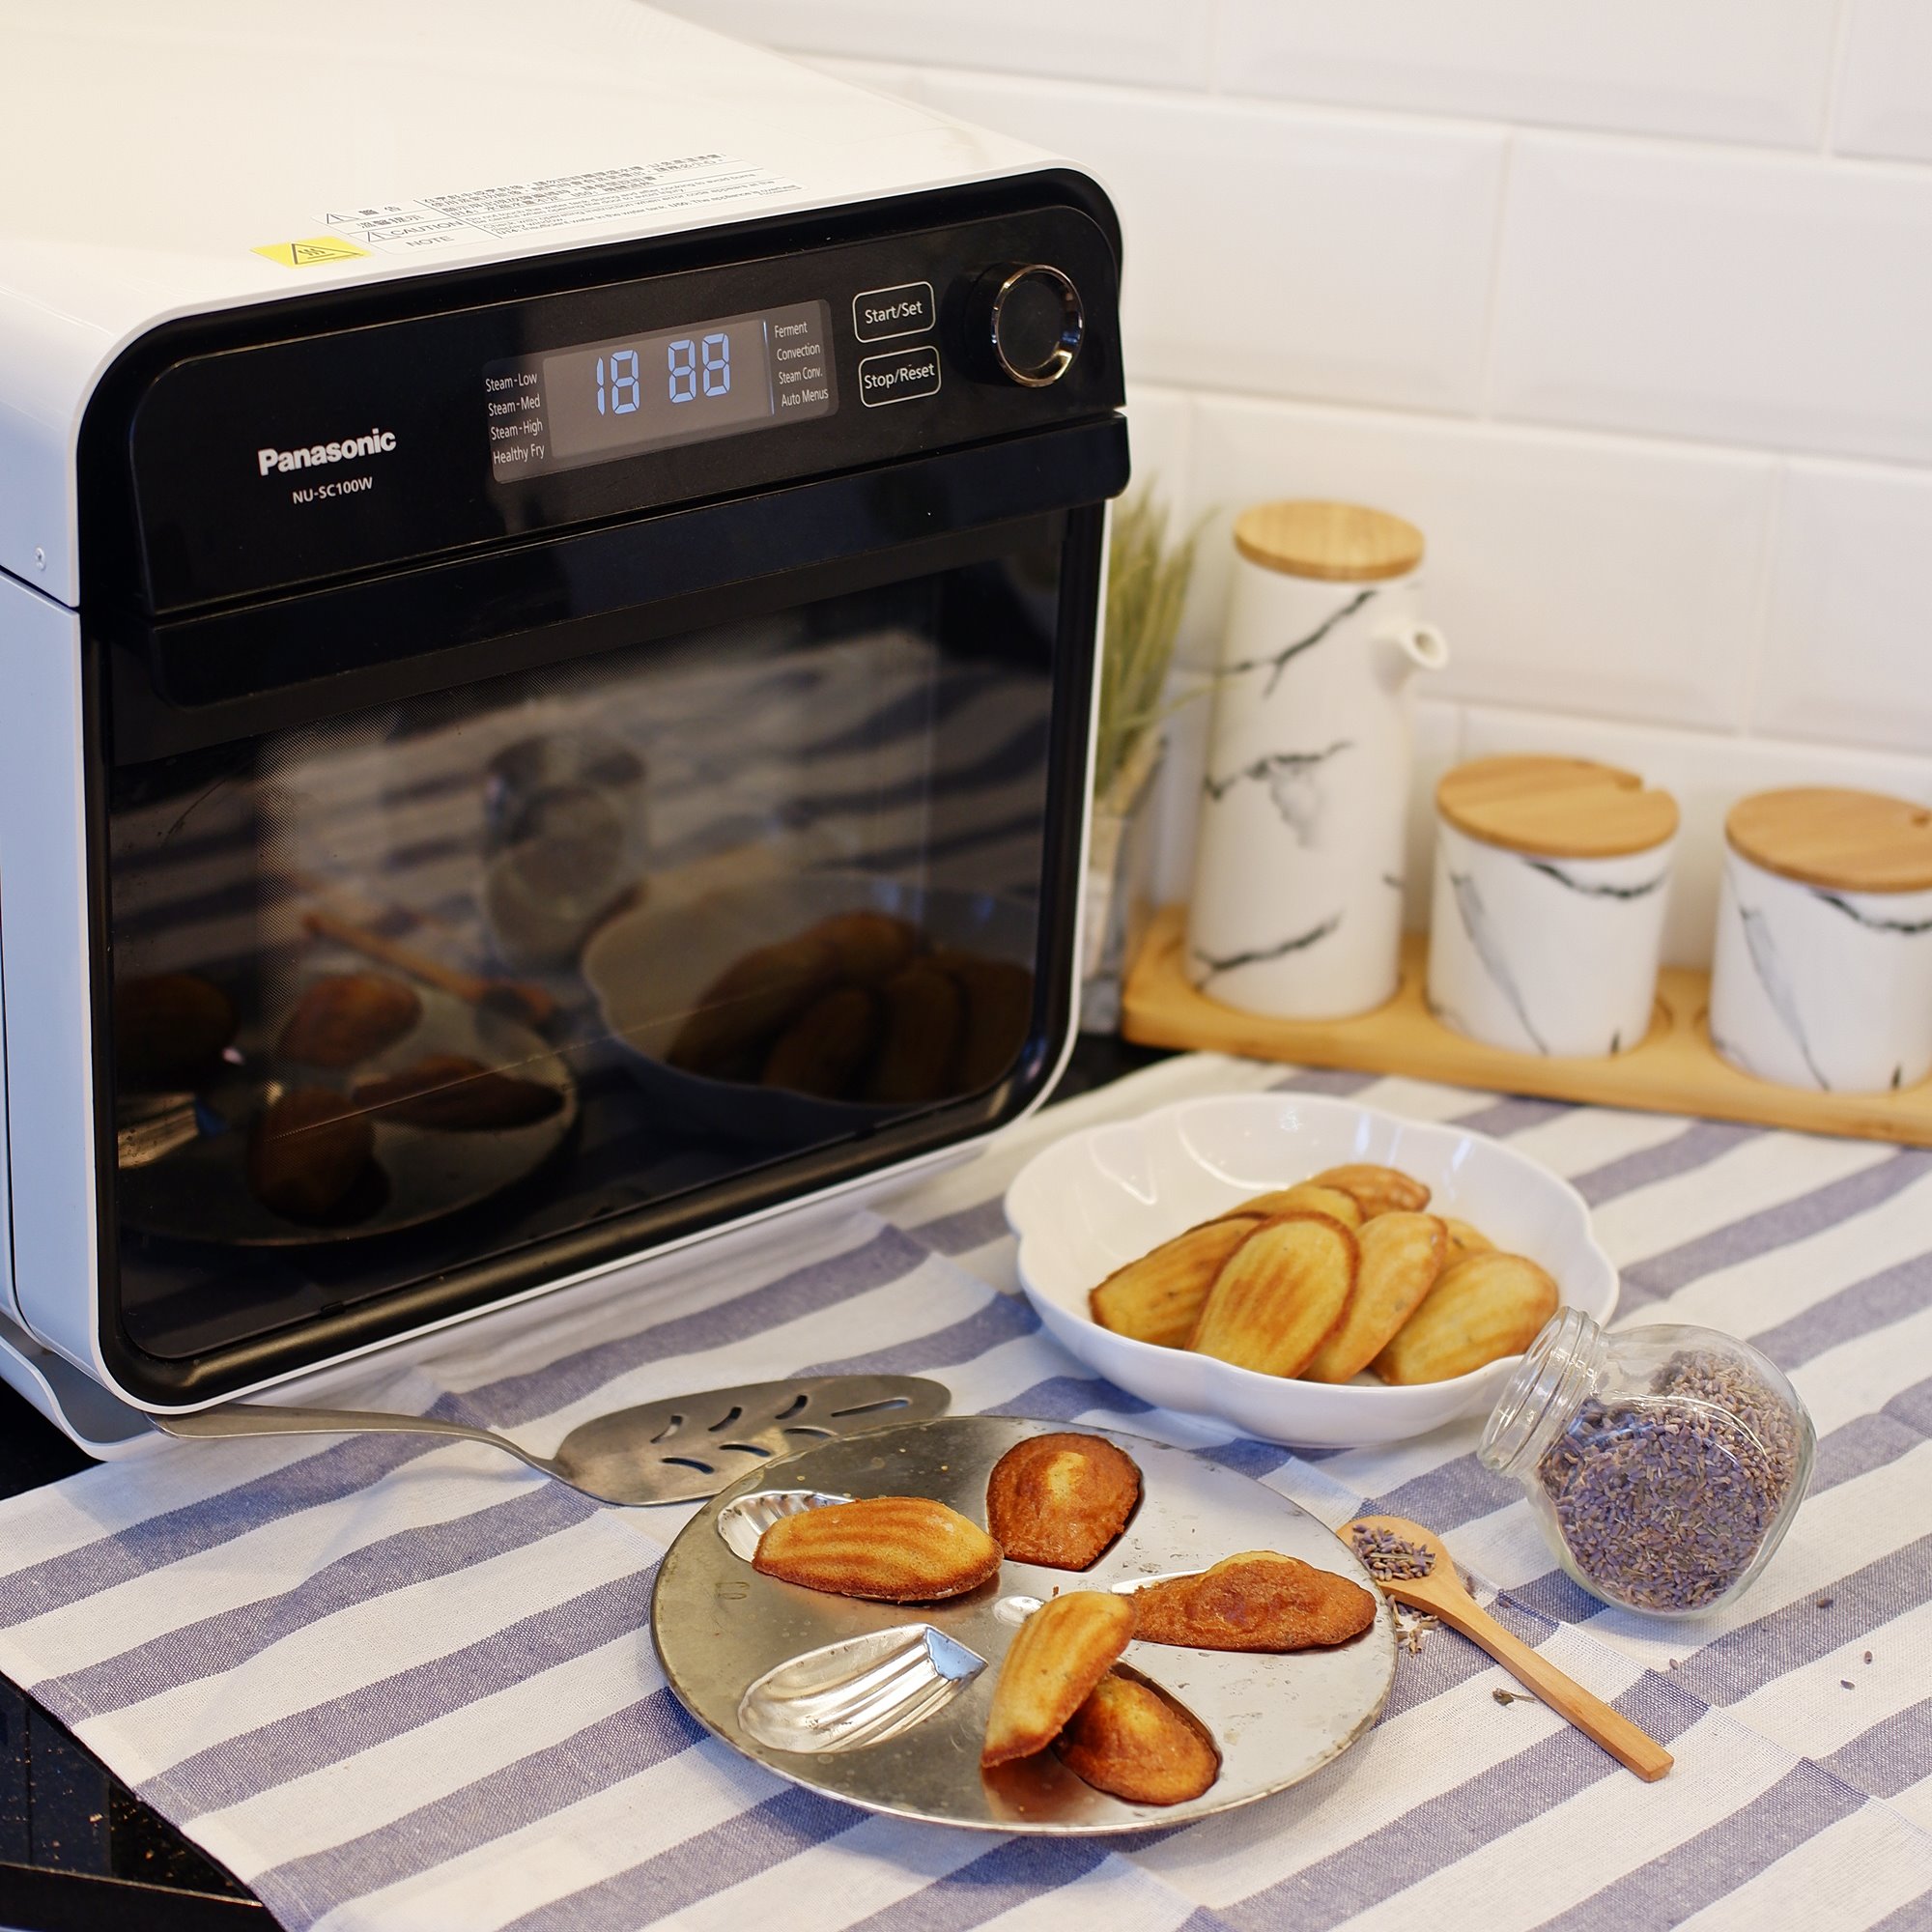
The Panasonic Bread Maker SD-P104 has up to 13 auto menus for you to chose from, today I will be using menu 8 to make this recipe. Menu 8 allows me to manually add the filling into the dough just before baking. You could use menu 8 to make Hong Kong Pineapple Bread, Cinnamon Roll, and even more!
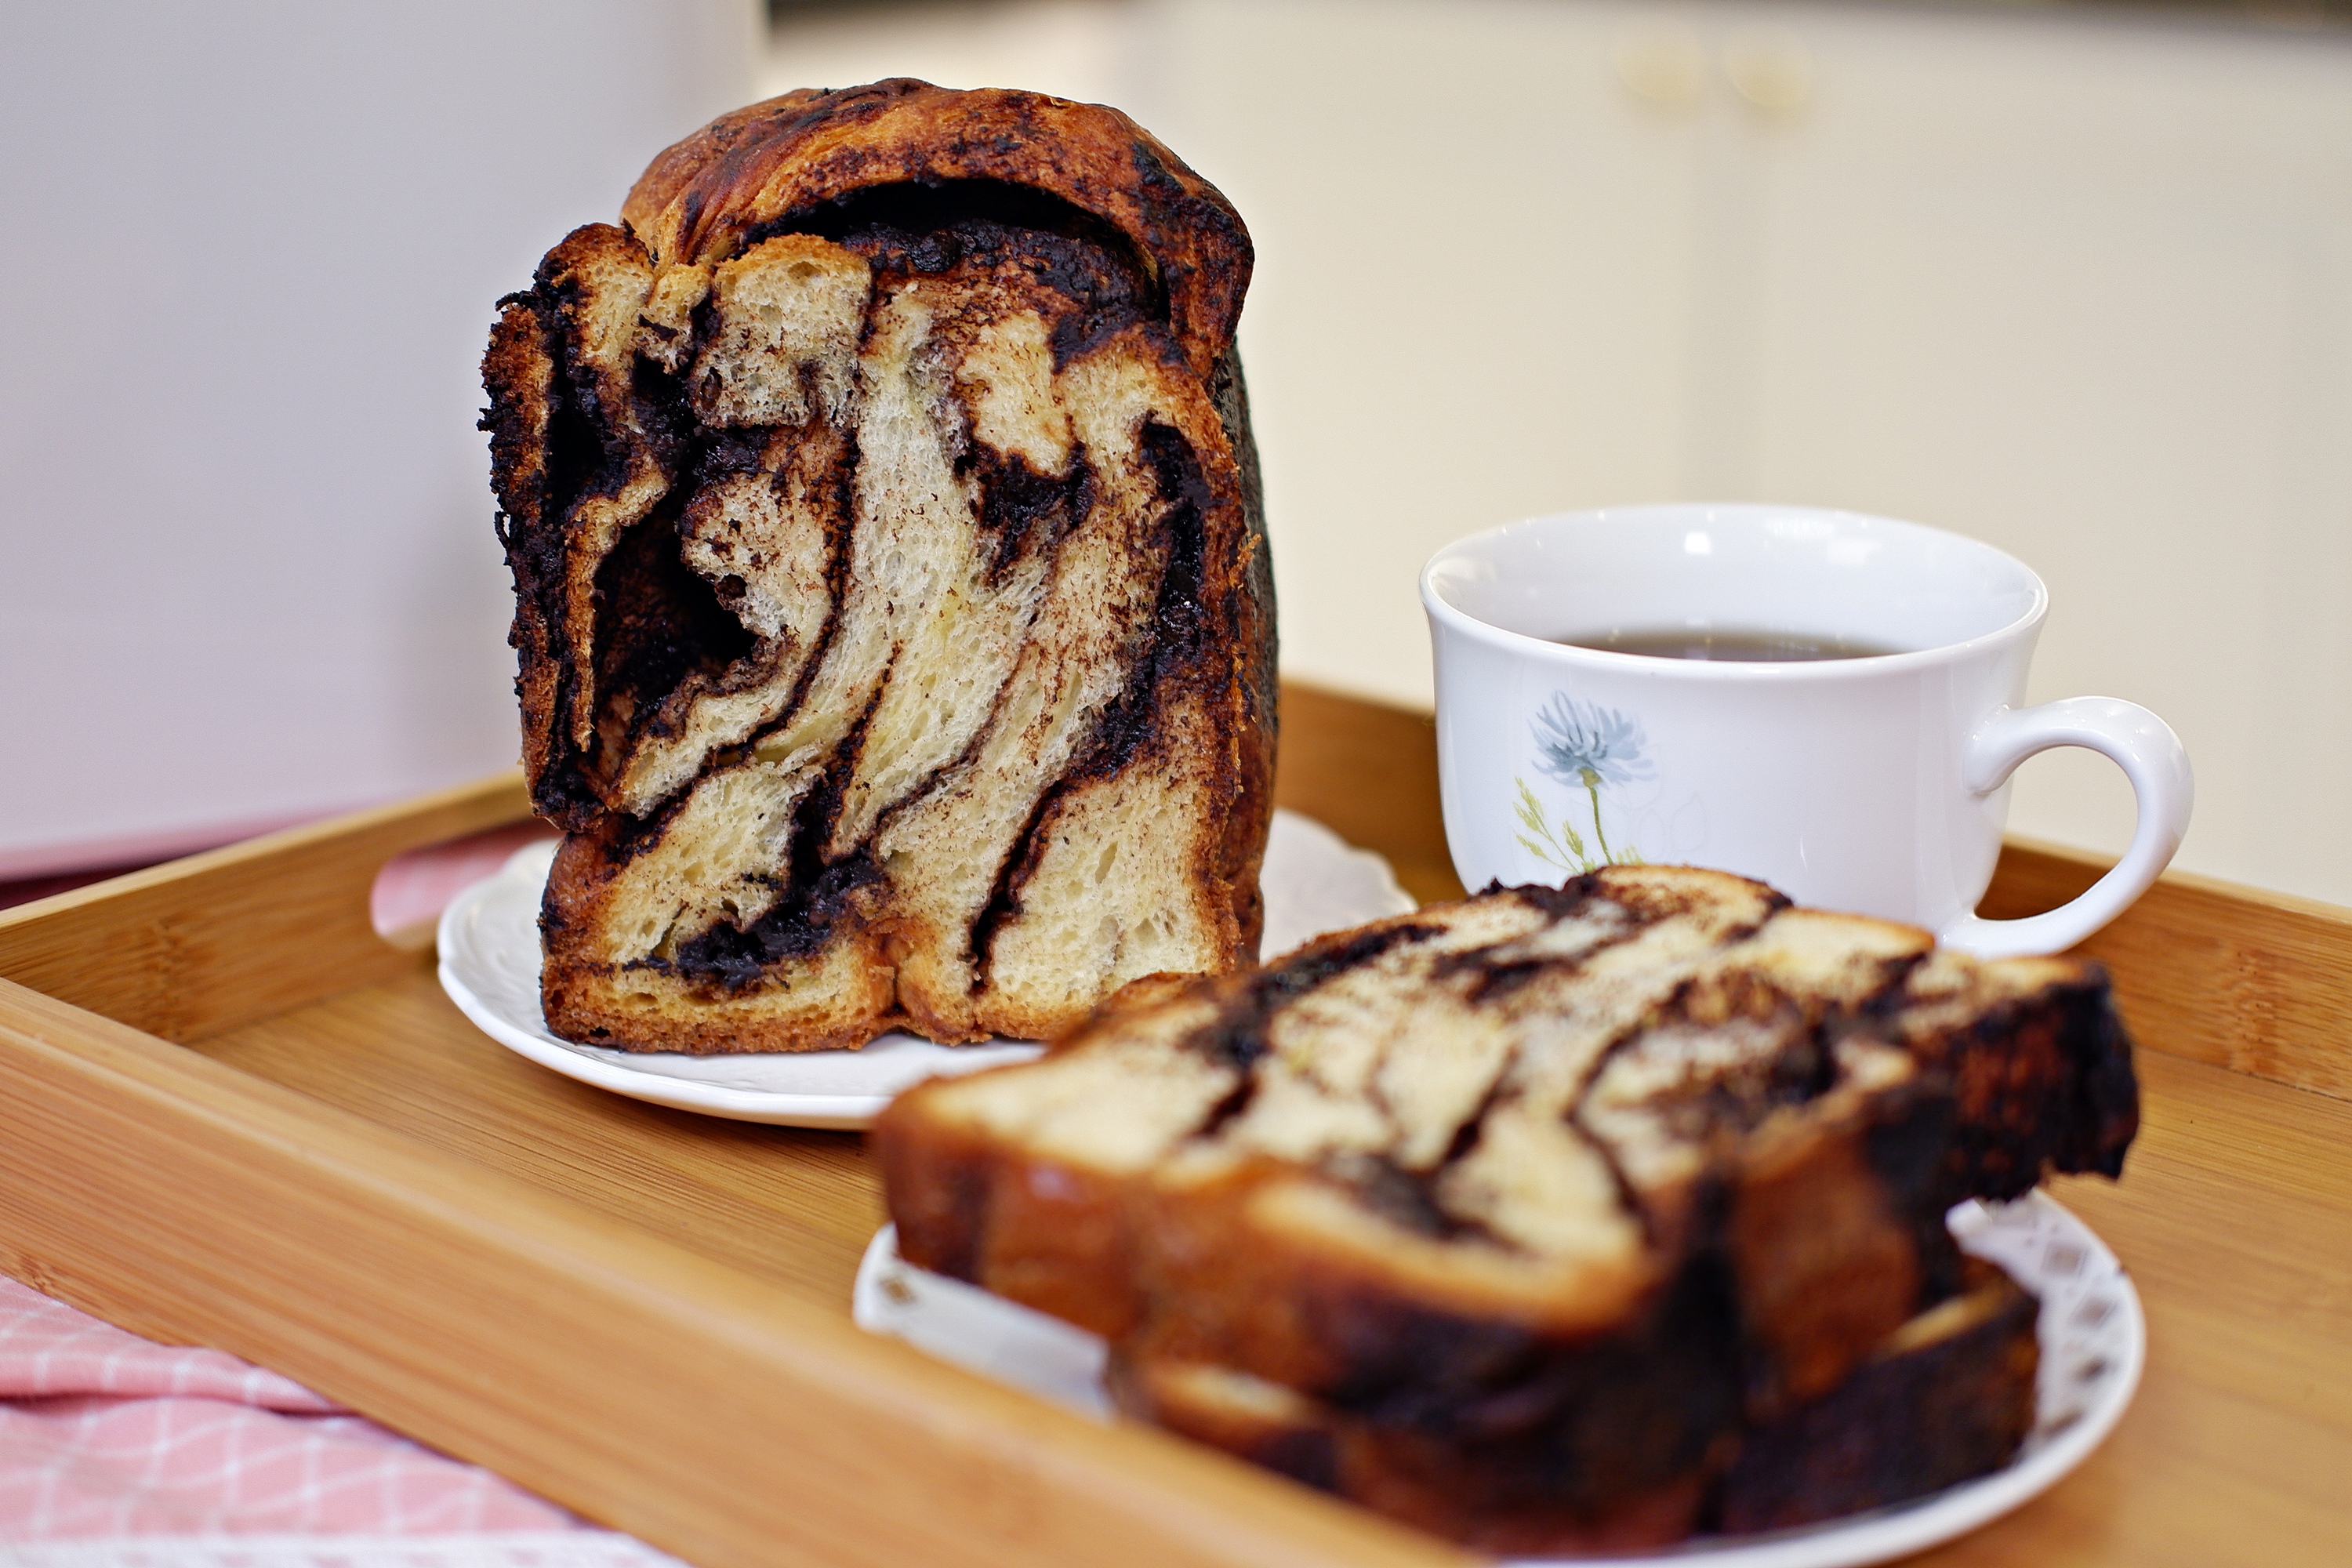
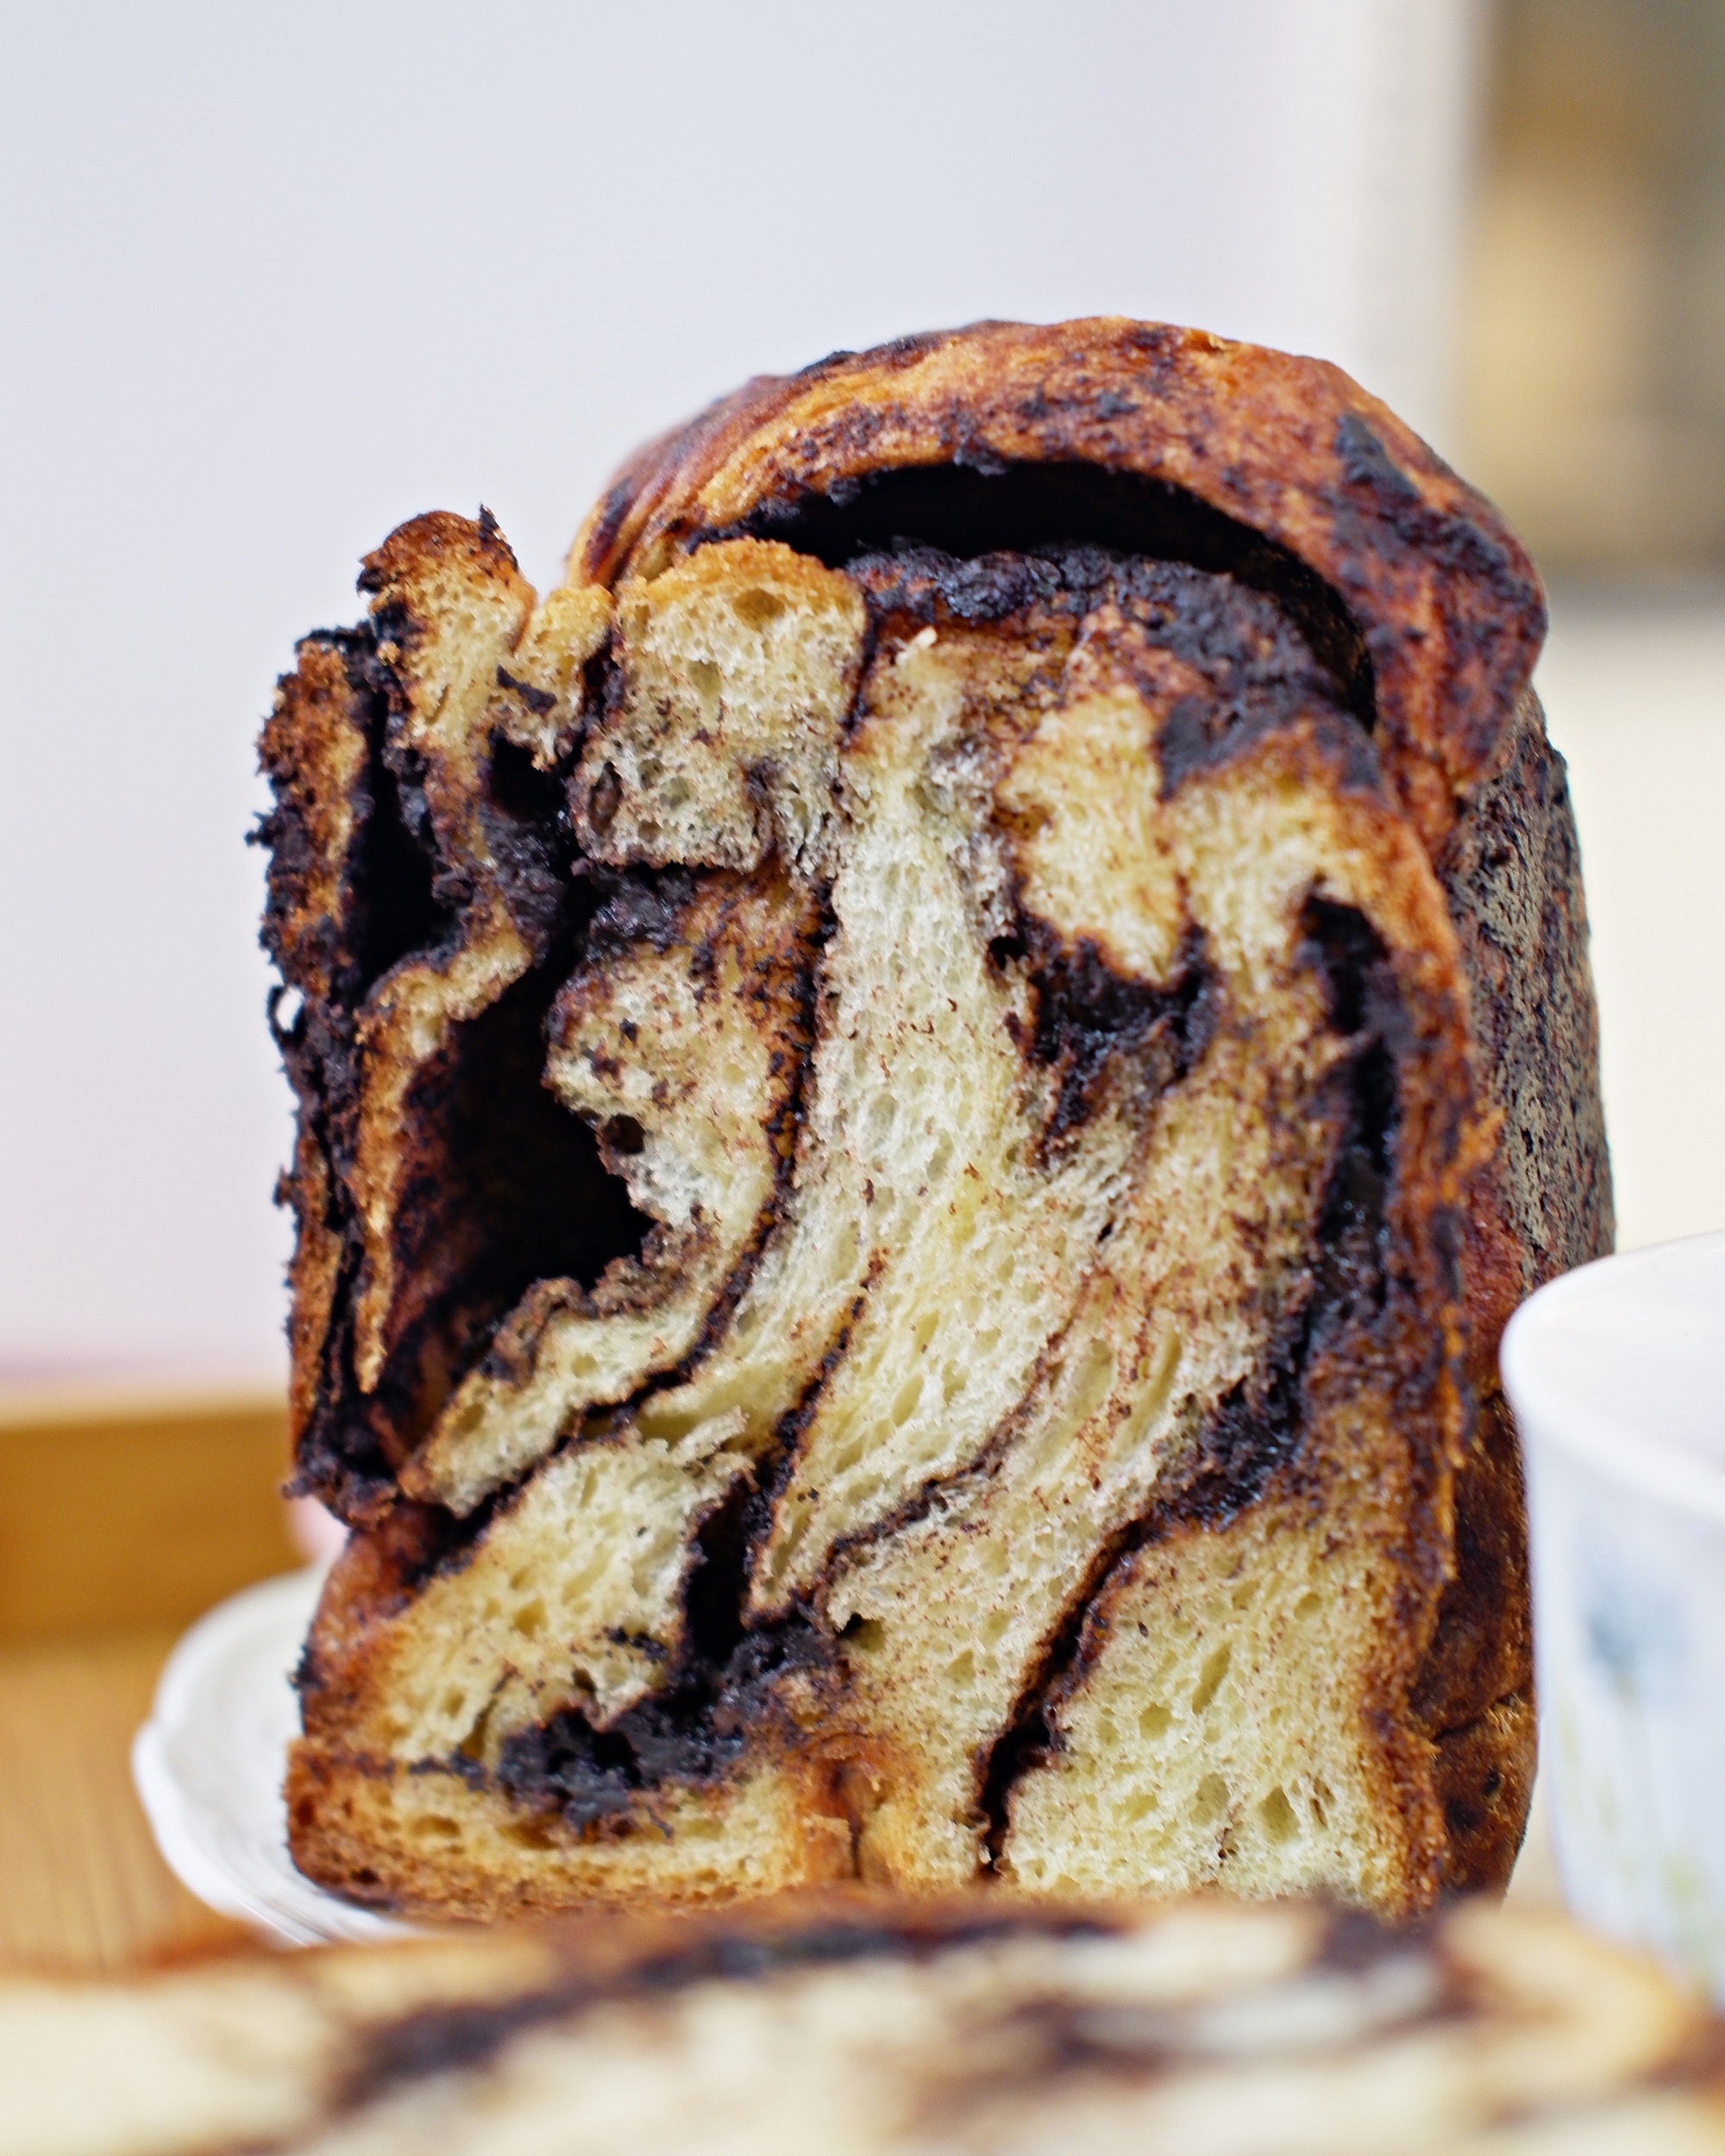
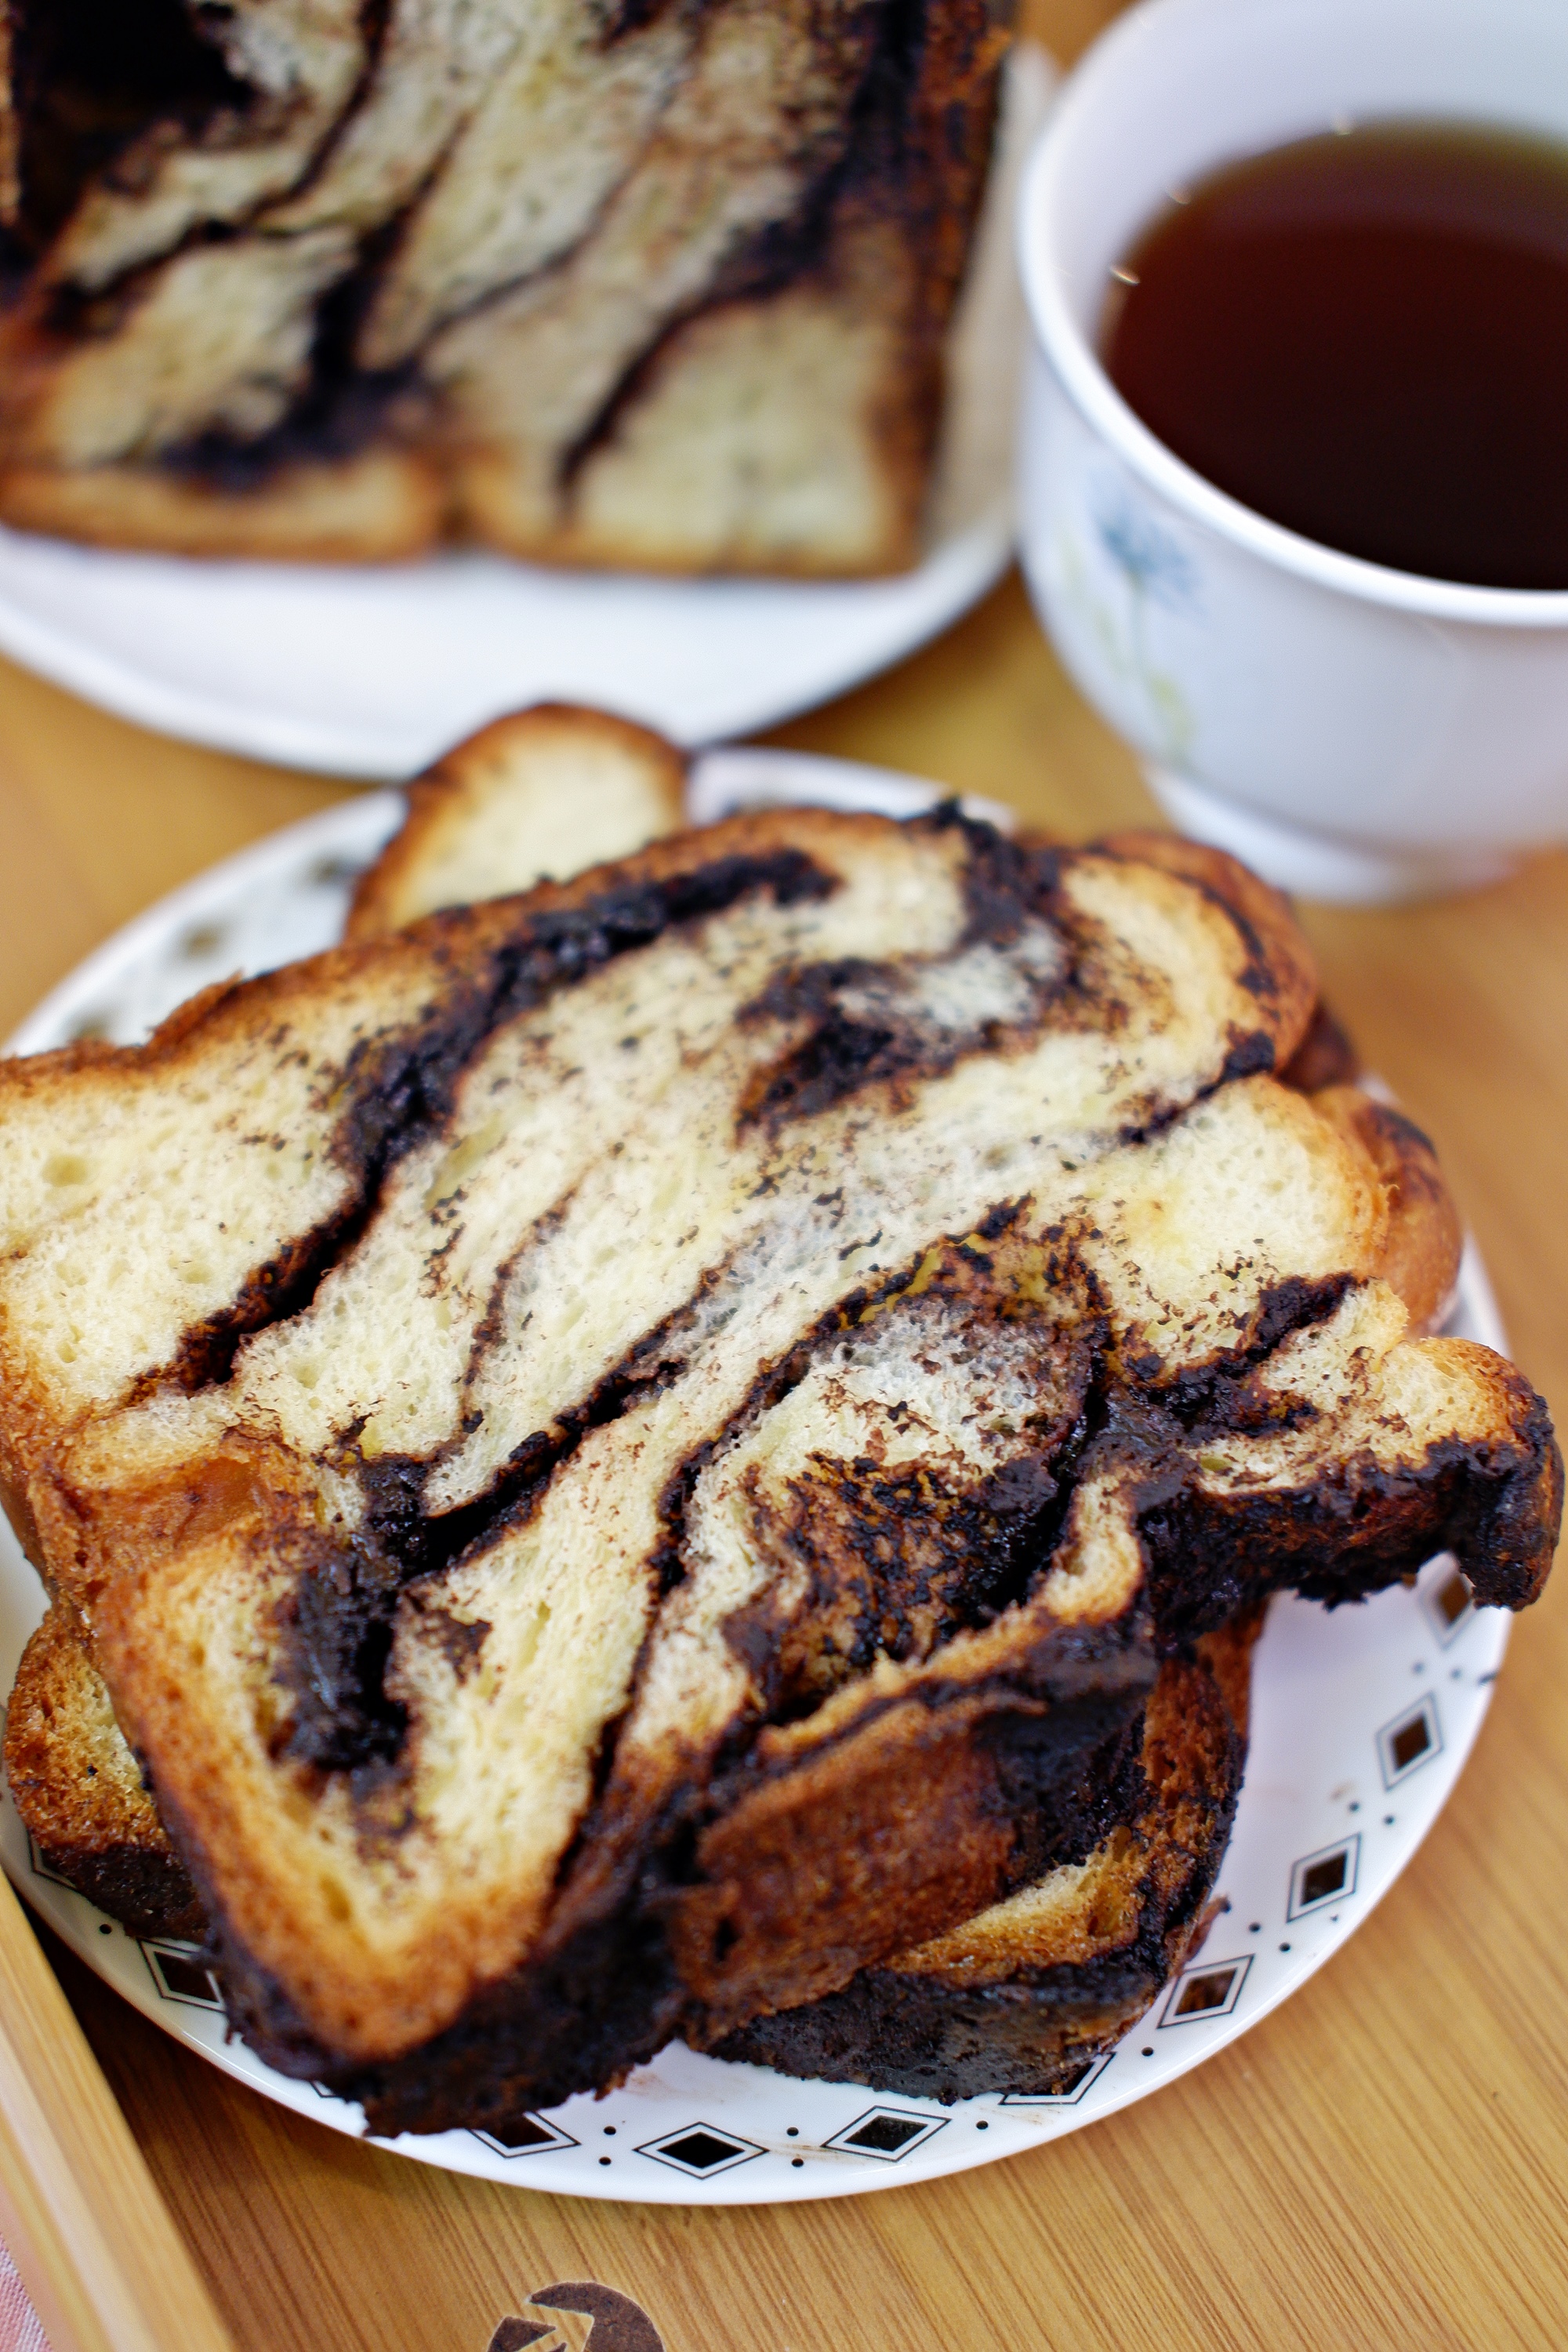
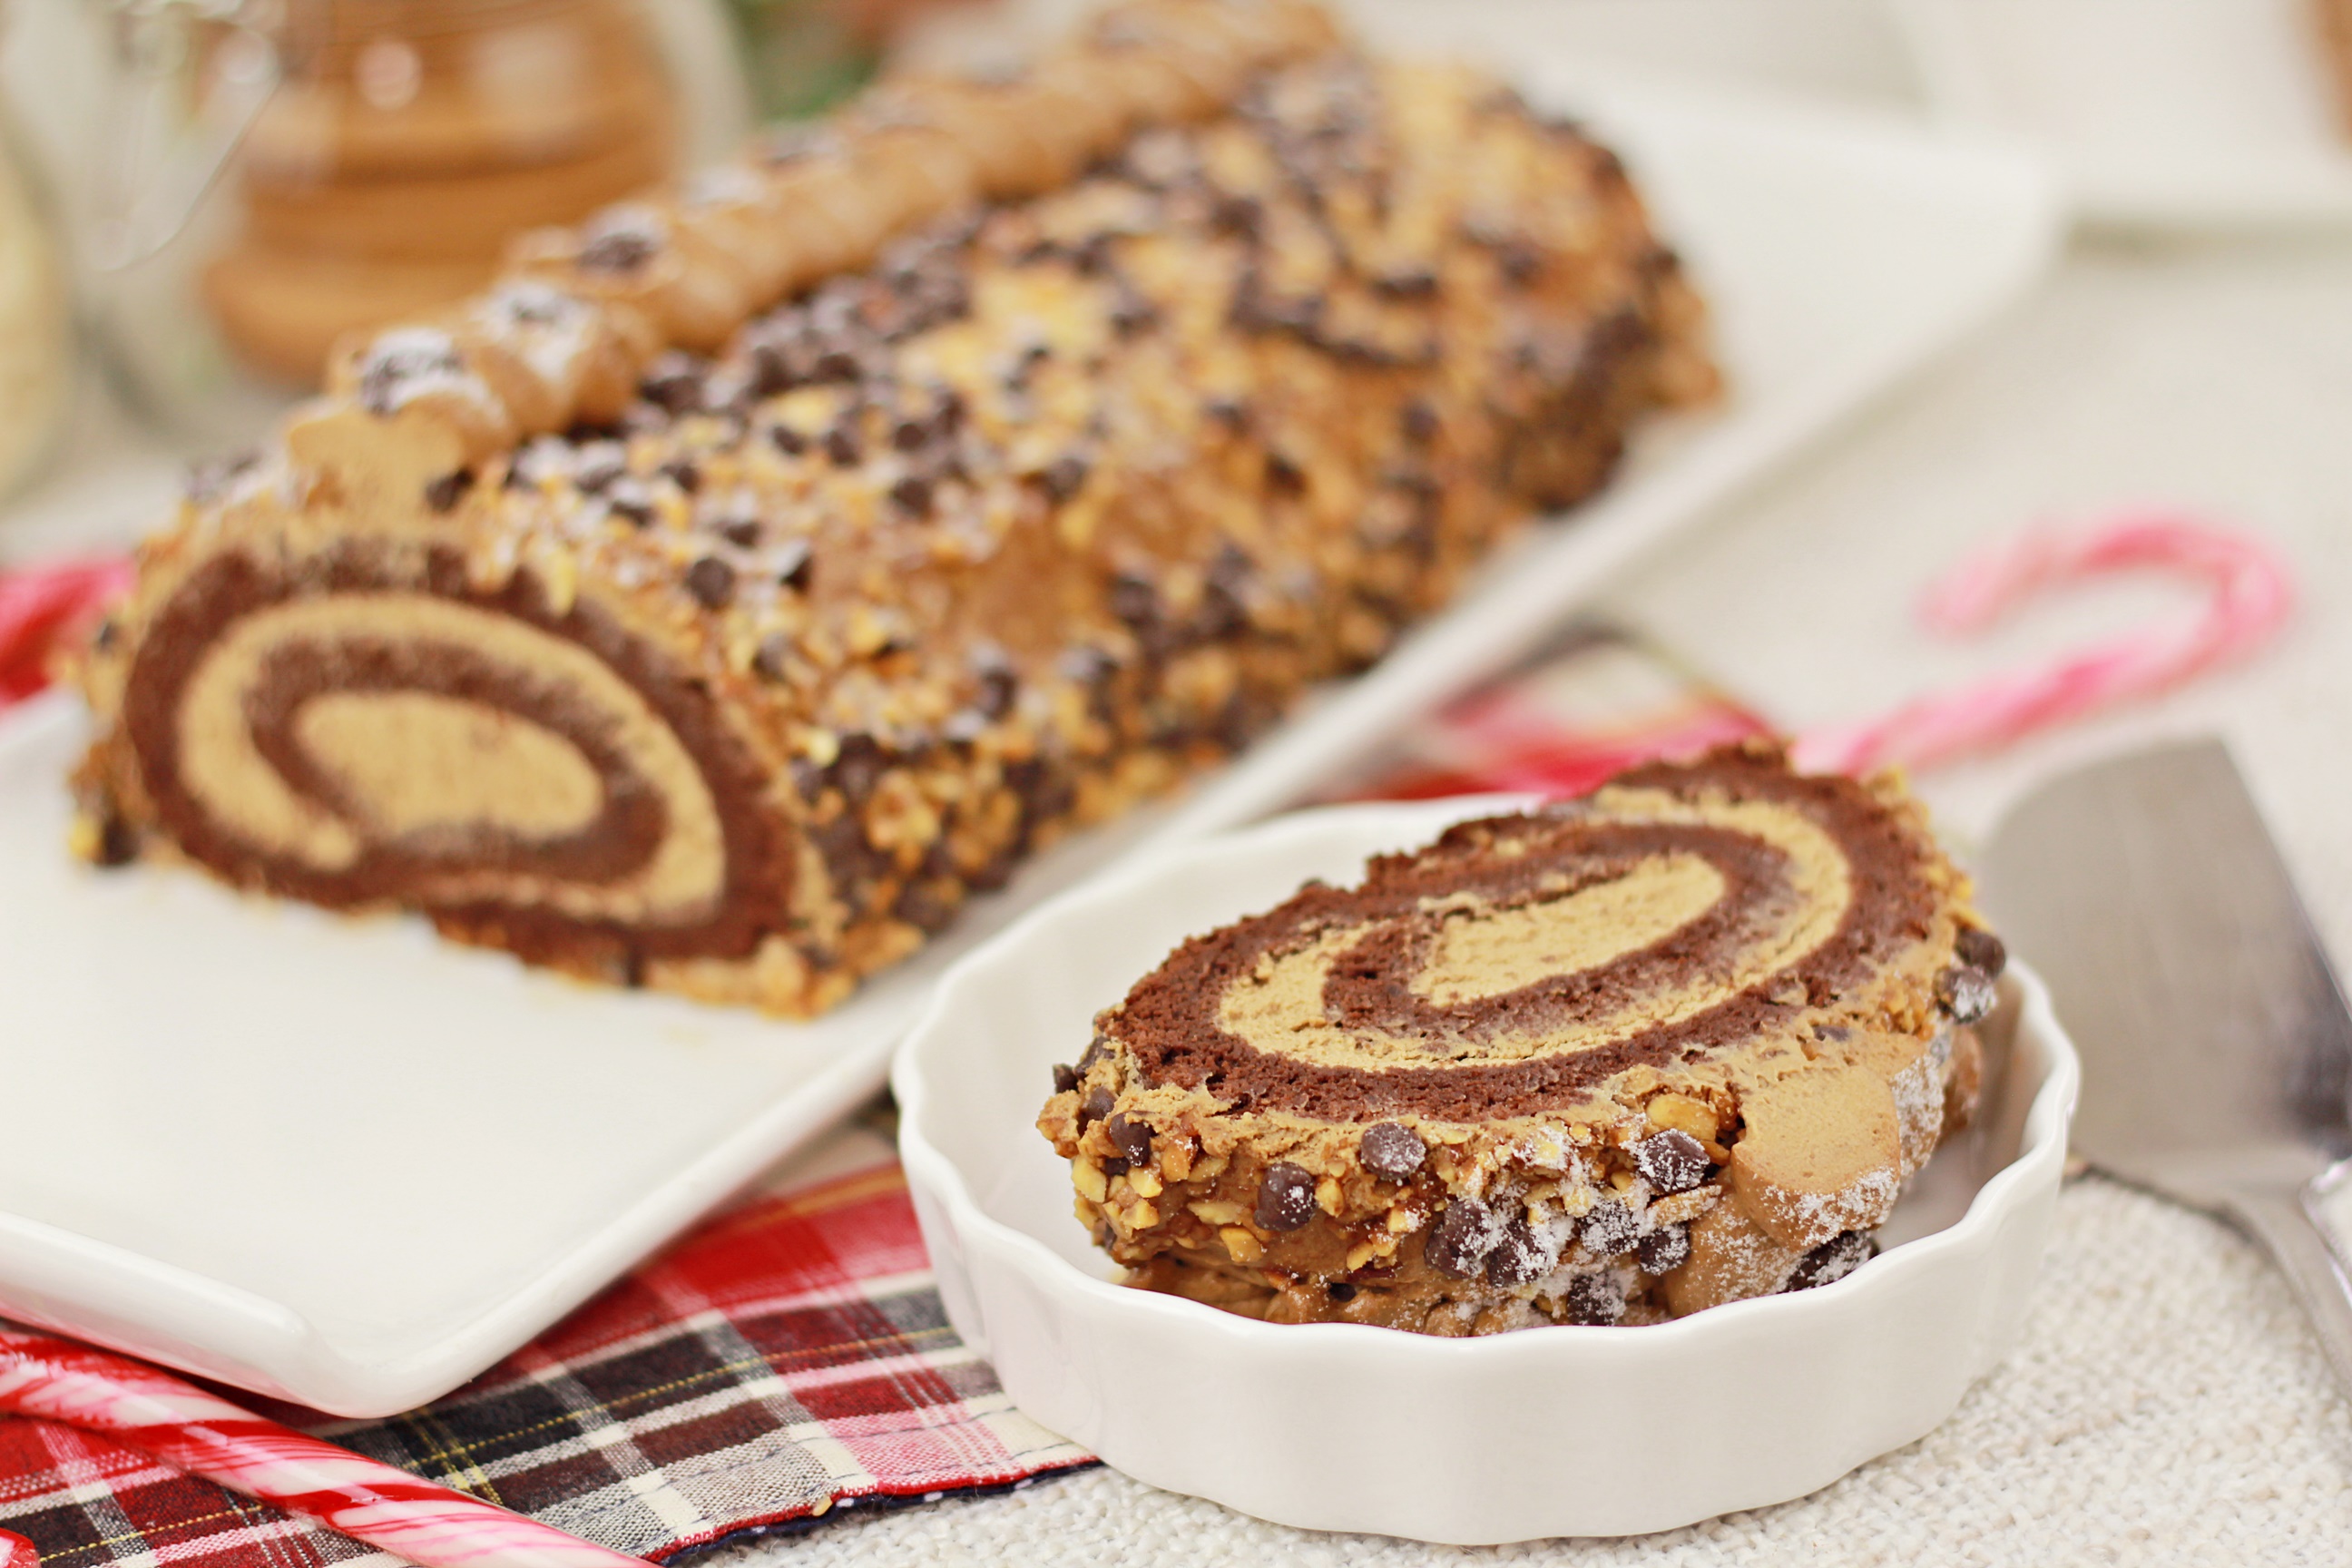
I got challenged to make a simple yet elegant bread after I was told by my friends that bread maker is a waste of money as it only makes boring old-school white bread and nothing else. This recipe requires minimum effort with the help of the bread maker. All I needed to do was to add in all the ingredients into the pan, set the setting and let it do its job. When it was time to add the filling in the dough, the machine beeped to inform me that the dough is ready for my own creation. I quickly took it out to roll it into a rectangular shape, spread the filling, roll it into a log and tie it into a knot to reveal the beautiful swirl.
If you are just making a bread with nuts or raisins, simply just put the filling into the raisin dispenser.

- 200 grams of Bread Flour
- 3 tbsp of Caster Sugar
- 20 grams of Salted Butter, softened
- 1 tbsp of Milk Powder
- 90 ml of Water
- 1 egg
- 1 1/4 tsp Instant Yeast
- 90 grams of Salted Butter, softened
- 3 tbsp of Cocoa Powder
- 45 grams of Caster Sugar
- 35 grams of Shaved Chocolate
- In the bread maker, add in all the ingredients except instant yeast into the pan to make the dough.
- Add in the instant yeast into the yeast dispenser compartment located on the upper lid of the bread maker.
- Set to menu 8 and let it run for about 55 minutes until a beeping sound occur to indicate that the dough is ready.
- To make the filling, mix in all the ingredients together until it is well combined.
- Once the dough is ready, roll out the dough into a rectangular shape with a rolling pin on a floured surface, spread the chocolate filling evenly.
- Roll the dough into a log and slit it into half using a sharp knife. Tie both into a knot and put it back the dough back into the bread maker.
- Click the start button so the machine can continue its job to proof and bake the bake.
- Let it cool in the machine for awhile once its done before carefully it with a glove.
- Slice the bread when it is completely cool to ensure the bread does not fall apart.

2 Comments
Yeeming
I would like to ask
– is there a sequence of ingredients to put jn? For example do we need to put wet first or dry first?
– when the dough is done, is the dough sticky?
Zong Han Chua
Yeap, you would need to always put the wet ingredients first before the dry ingredients as it will help the machine to get going.
No, it shouldn’t be sticky, it should be soft to touch, but bouncy and easy to handle when dusted with flour.